
Introduction
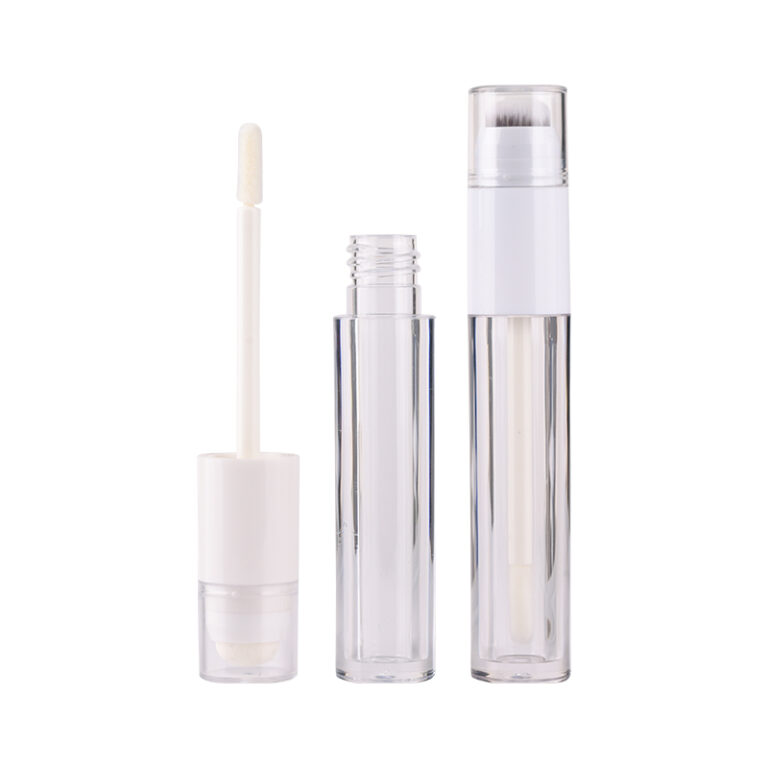
Define the core idea first: a clear tube is not just a container, it is also a brand signal. For a lip gloss tube manufacturer, small shifts in process or material can change the whole result. Picture a new shade launch. The color looks dim in-store, the applicator drags, and a few caps seep after a week. Numbers show a pattern: 11–14% of returns tie back to leakage or haze, and 0.7 mm variance in wall thickness skews optics (color looks off under LEDs). We see this across PETG lines and after routine injection molding cycles with basic hot runner setups. So the puzzle appears—are we solving the wrong layer?
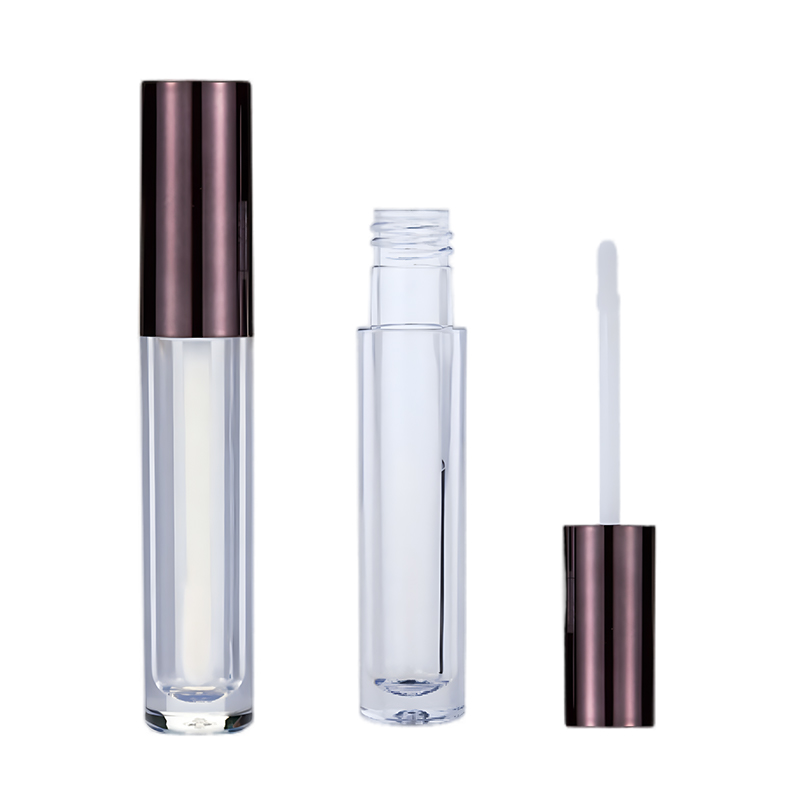
In many plants, data exists, but the logic is split between color labs, molding teams, and assembly QC. Viscosity talks to temperature, but not to wiper friction. Packaging tests follow ISO 22715 forms, yet field use exposes different stress. The scenario repeats—funny how that works, right? The question is simple: do we compare suppliers, or do we compare systems? If we choose the second path, we must align design intent with process controls, not only aesthetics. Let us walk from symptoms to structure, then to action.
Part 2: The Hidden Cost of “Good Enough” Customization
Why do legacy fixes fail?
Start direct. Most teams order custom lip gloss tubes and tweak only the visible parts. New color. New cap. Maybe a faster lead time. But the deeper issues hide in tolerance stack-up and the wiper fit. When the stem OD sits at the high side and the wiper ID sits at the low side, drag force jumps, and payout feels sticky. Then shade looks darker, because film builds too thick. The legacy fix is to “polish the mold” or “change the resin lot.” That treats symptoms. It ignores wall thickness variation, gate blush near the shoulder, and cap torque behavior under heat soak. Look, it’s simpler than you think: define the interface first, then the look.
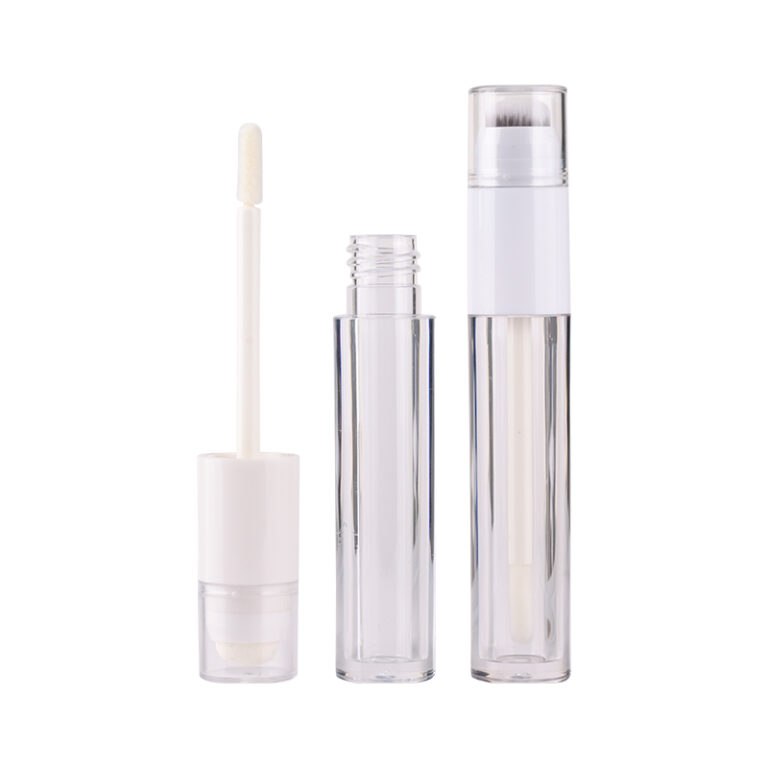
Real flaws stack in quiet places. Wipers made from an EPDM blend compress differently after seven days at 50°C. Torque testing on caps without a clear dwell profile gives false security. Co-molding soft touch sleeves adds stress lines that scatter light. Even ink laydown can shift gloss level if the UV coating over-cures. A cleaner method is to lock a few technical anchors—wiper hardness, target drag force, and maximum acceptable leak rate under vacuum—to drive design. Only then revise the shell, the applicator tip radius, and the neck thread. Change the order, change the outcome—fast.
Part 3: Comparative Insight — New Principles vs. Old Habits
What’s Next
Shift the lens now. Old habit says “swap material, retest, repeat.” New technology says “model the interface, monitor the line, and predict drift.” Here is the principle. Use in-line vision to map wall thickness at three bands, then link it to optical clarity targets. Add a small DOE on melt temperature and hold pressure to nail down haze risk. Tie cap torque to time-temperature curves (not room checks) so shipping heat does not wreck the seal. When teams work this way, clear tubes read truer, applicators glide, and claims hold up. Partners matter, too. Some china clear lip gloss tube manufacturers now run closed-loop molding with cavity-level sensors—each cavity is its own story, and the data helps you end the guesswork.
A short case view. One brand moved from a single-wiper spec to a tiered wiper library—three Shore A bands, matched by stem OD. Drag force fell by 22%, leak rate dropped below 0.3% in 48-hour inverted tests, and shade delta under LED shelves tightened. The lesson is not exotic. It is system fit. So measure with purpose. Advisory close: use three metrics when you choose or tune solutions—1) drag force window in N, paired to target payout per swipe; 2) cap torque variance across heat cycles, aim for tight CV%; 3) clarity and color fidelity, tracked as delta E and haze % after transit. Hold to these, and your choices grow clearer—and yes, it scales. For further technical context and documentation standards, see the approach followed by NAVI Packaging.